Dutch Oven: Chicken Soup + GF Bread
Satisfying for the stomach. Soothing for the soul.

Soup isn’t typically in my camp menu rotation, but cold nights in Colorado have me craving a bowl of hot chicken noodle soup. I skipped the noodles and instead decided to try my hand at baking gluten-free bread for the first time at camp. This meal combo is the essence of Dutch oven cooking. Simple ingredients + cast iron over a campfire = incredible depth of flavor.
Chicken Soup Recipe
Canned soup works, but I found it just as easy to use pre-made chicken broth and a simple recipe I picked up from Basics with Babish- thanks, Babish!
Basic Ingredients:
Chicken Stock (I prefer low-sodium for health not flavor)
Boneless & Skinless Chicken Thighs (dark meat with minimal fat was Babishes’ tip)
Vegetables: White Onion, Carrots, Celery
Aromatics: fresh Italian Parsley & Dill (another great tip from Babish!)
Set It and Forget It
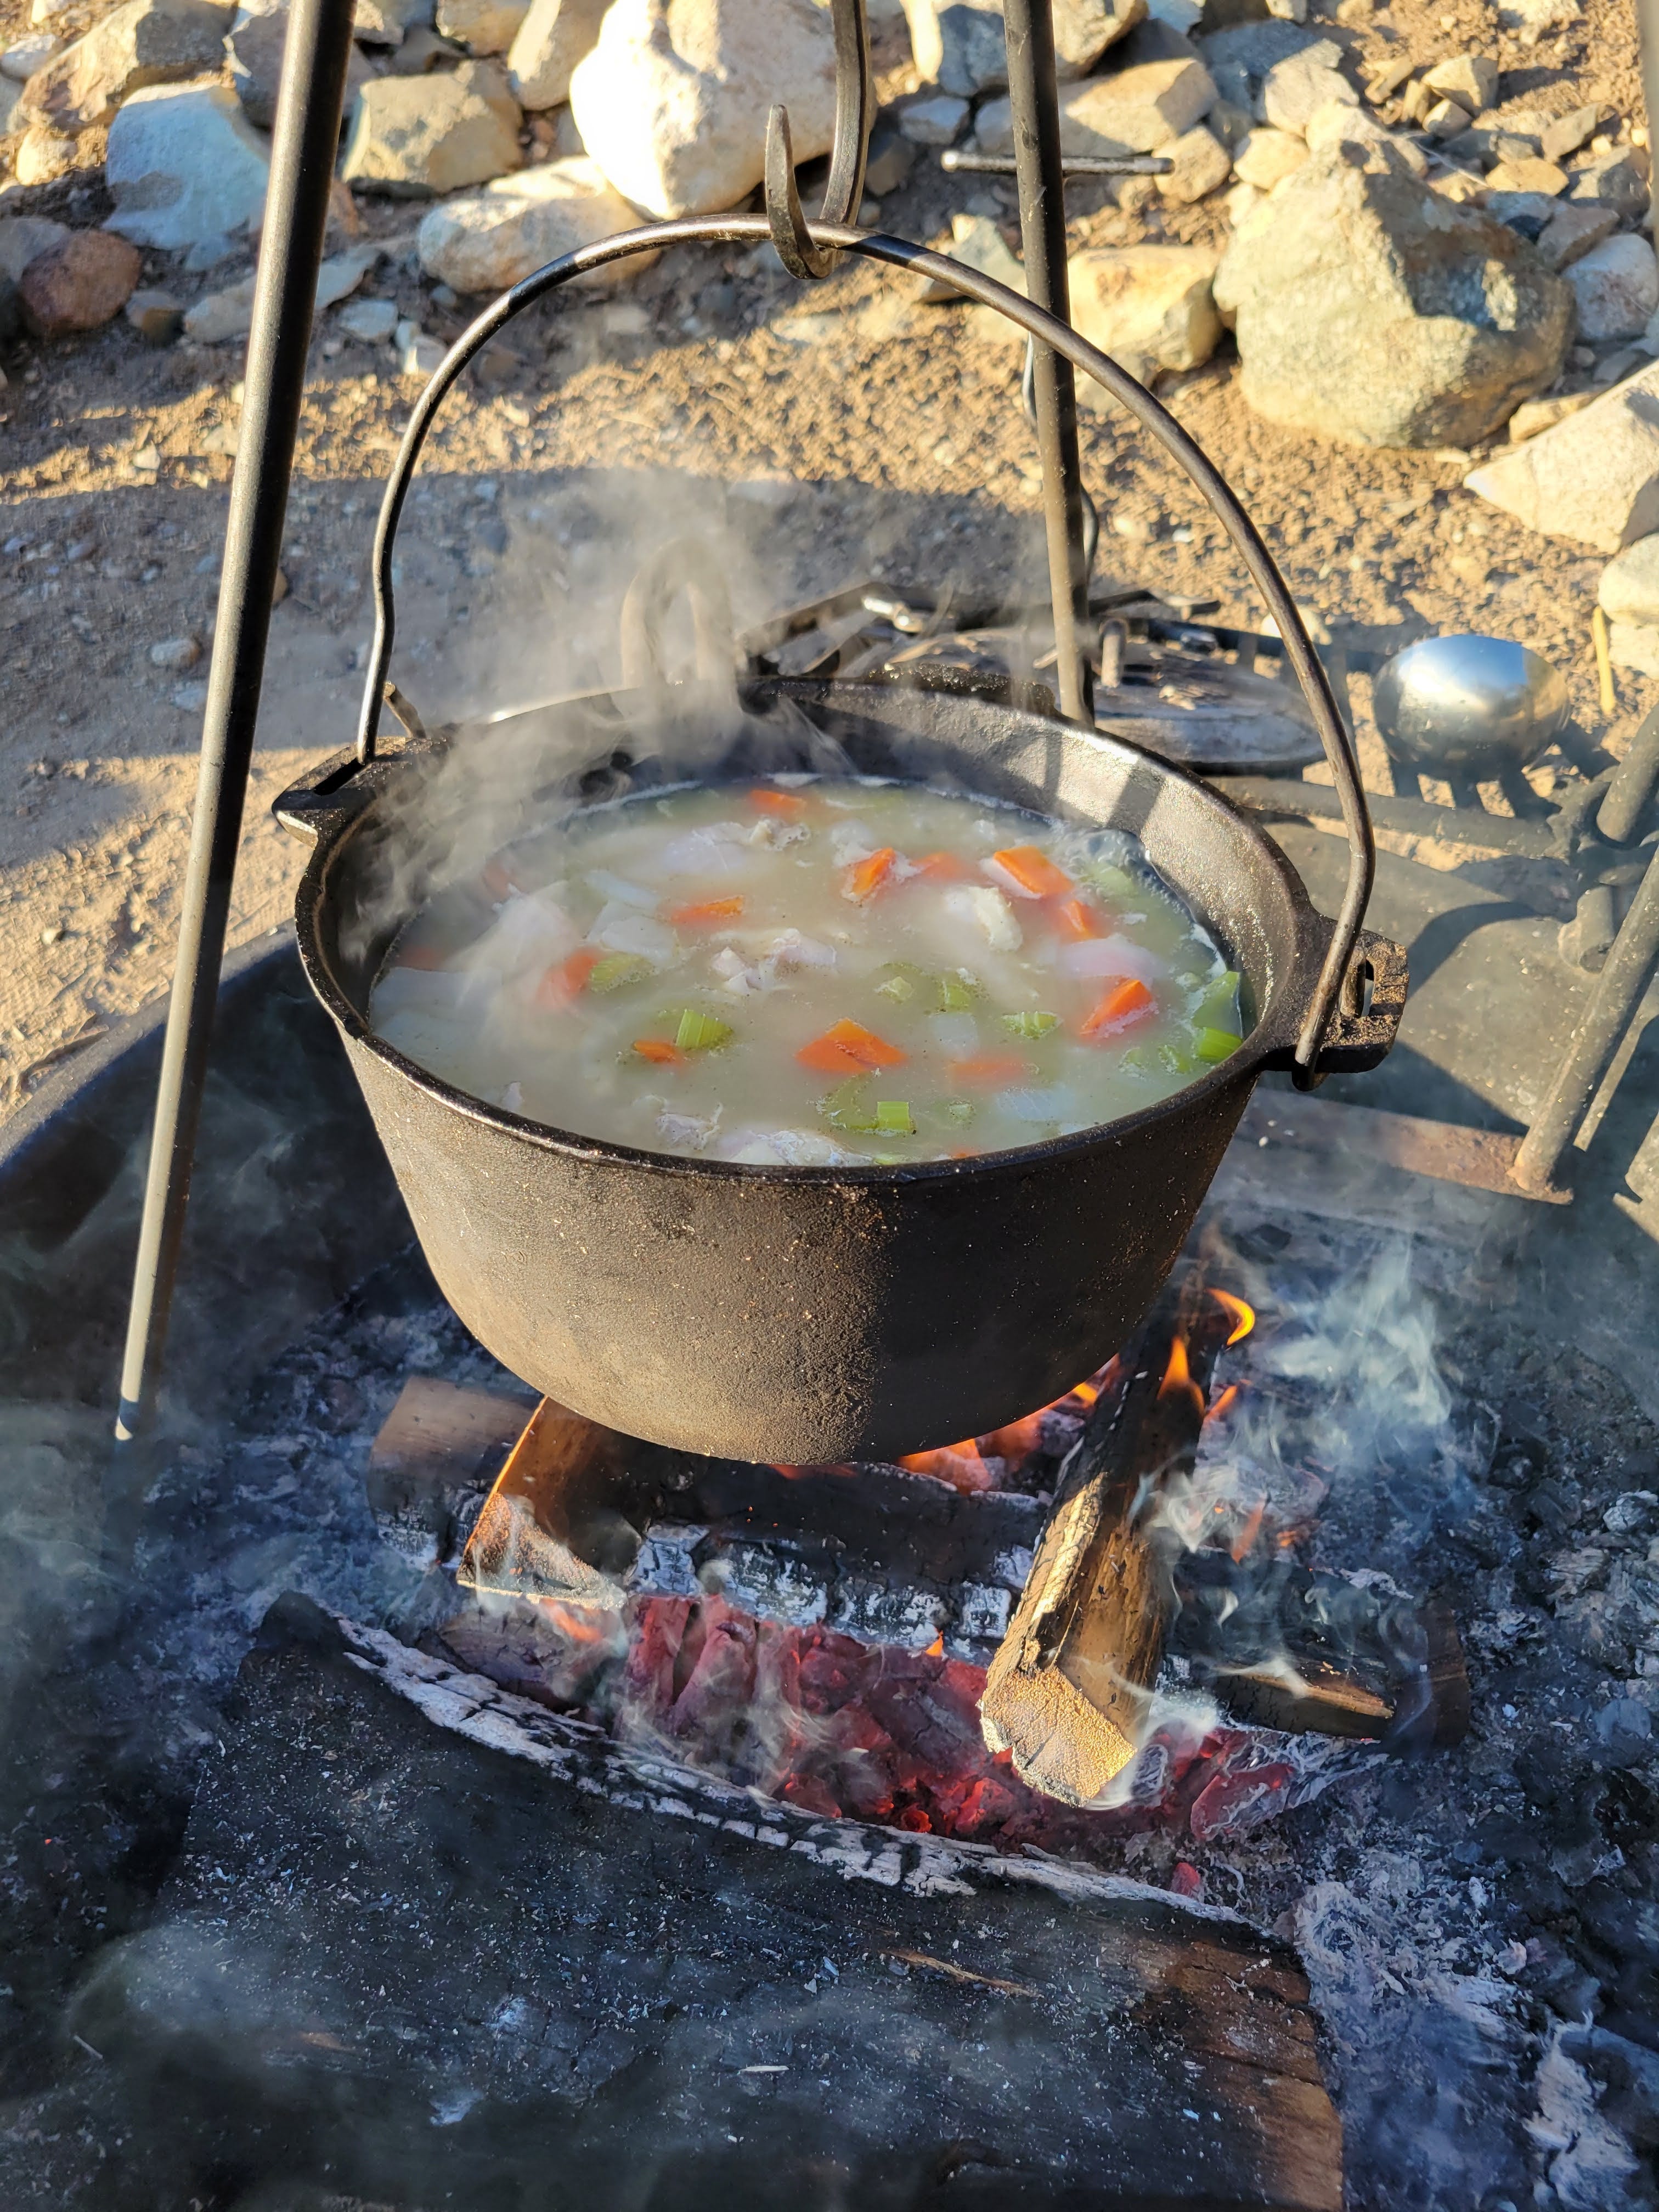
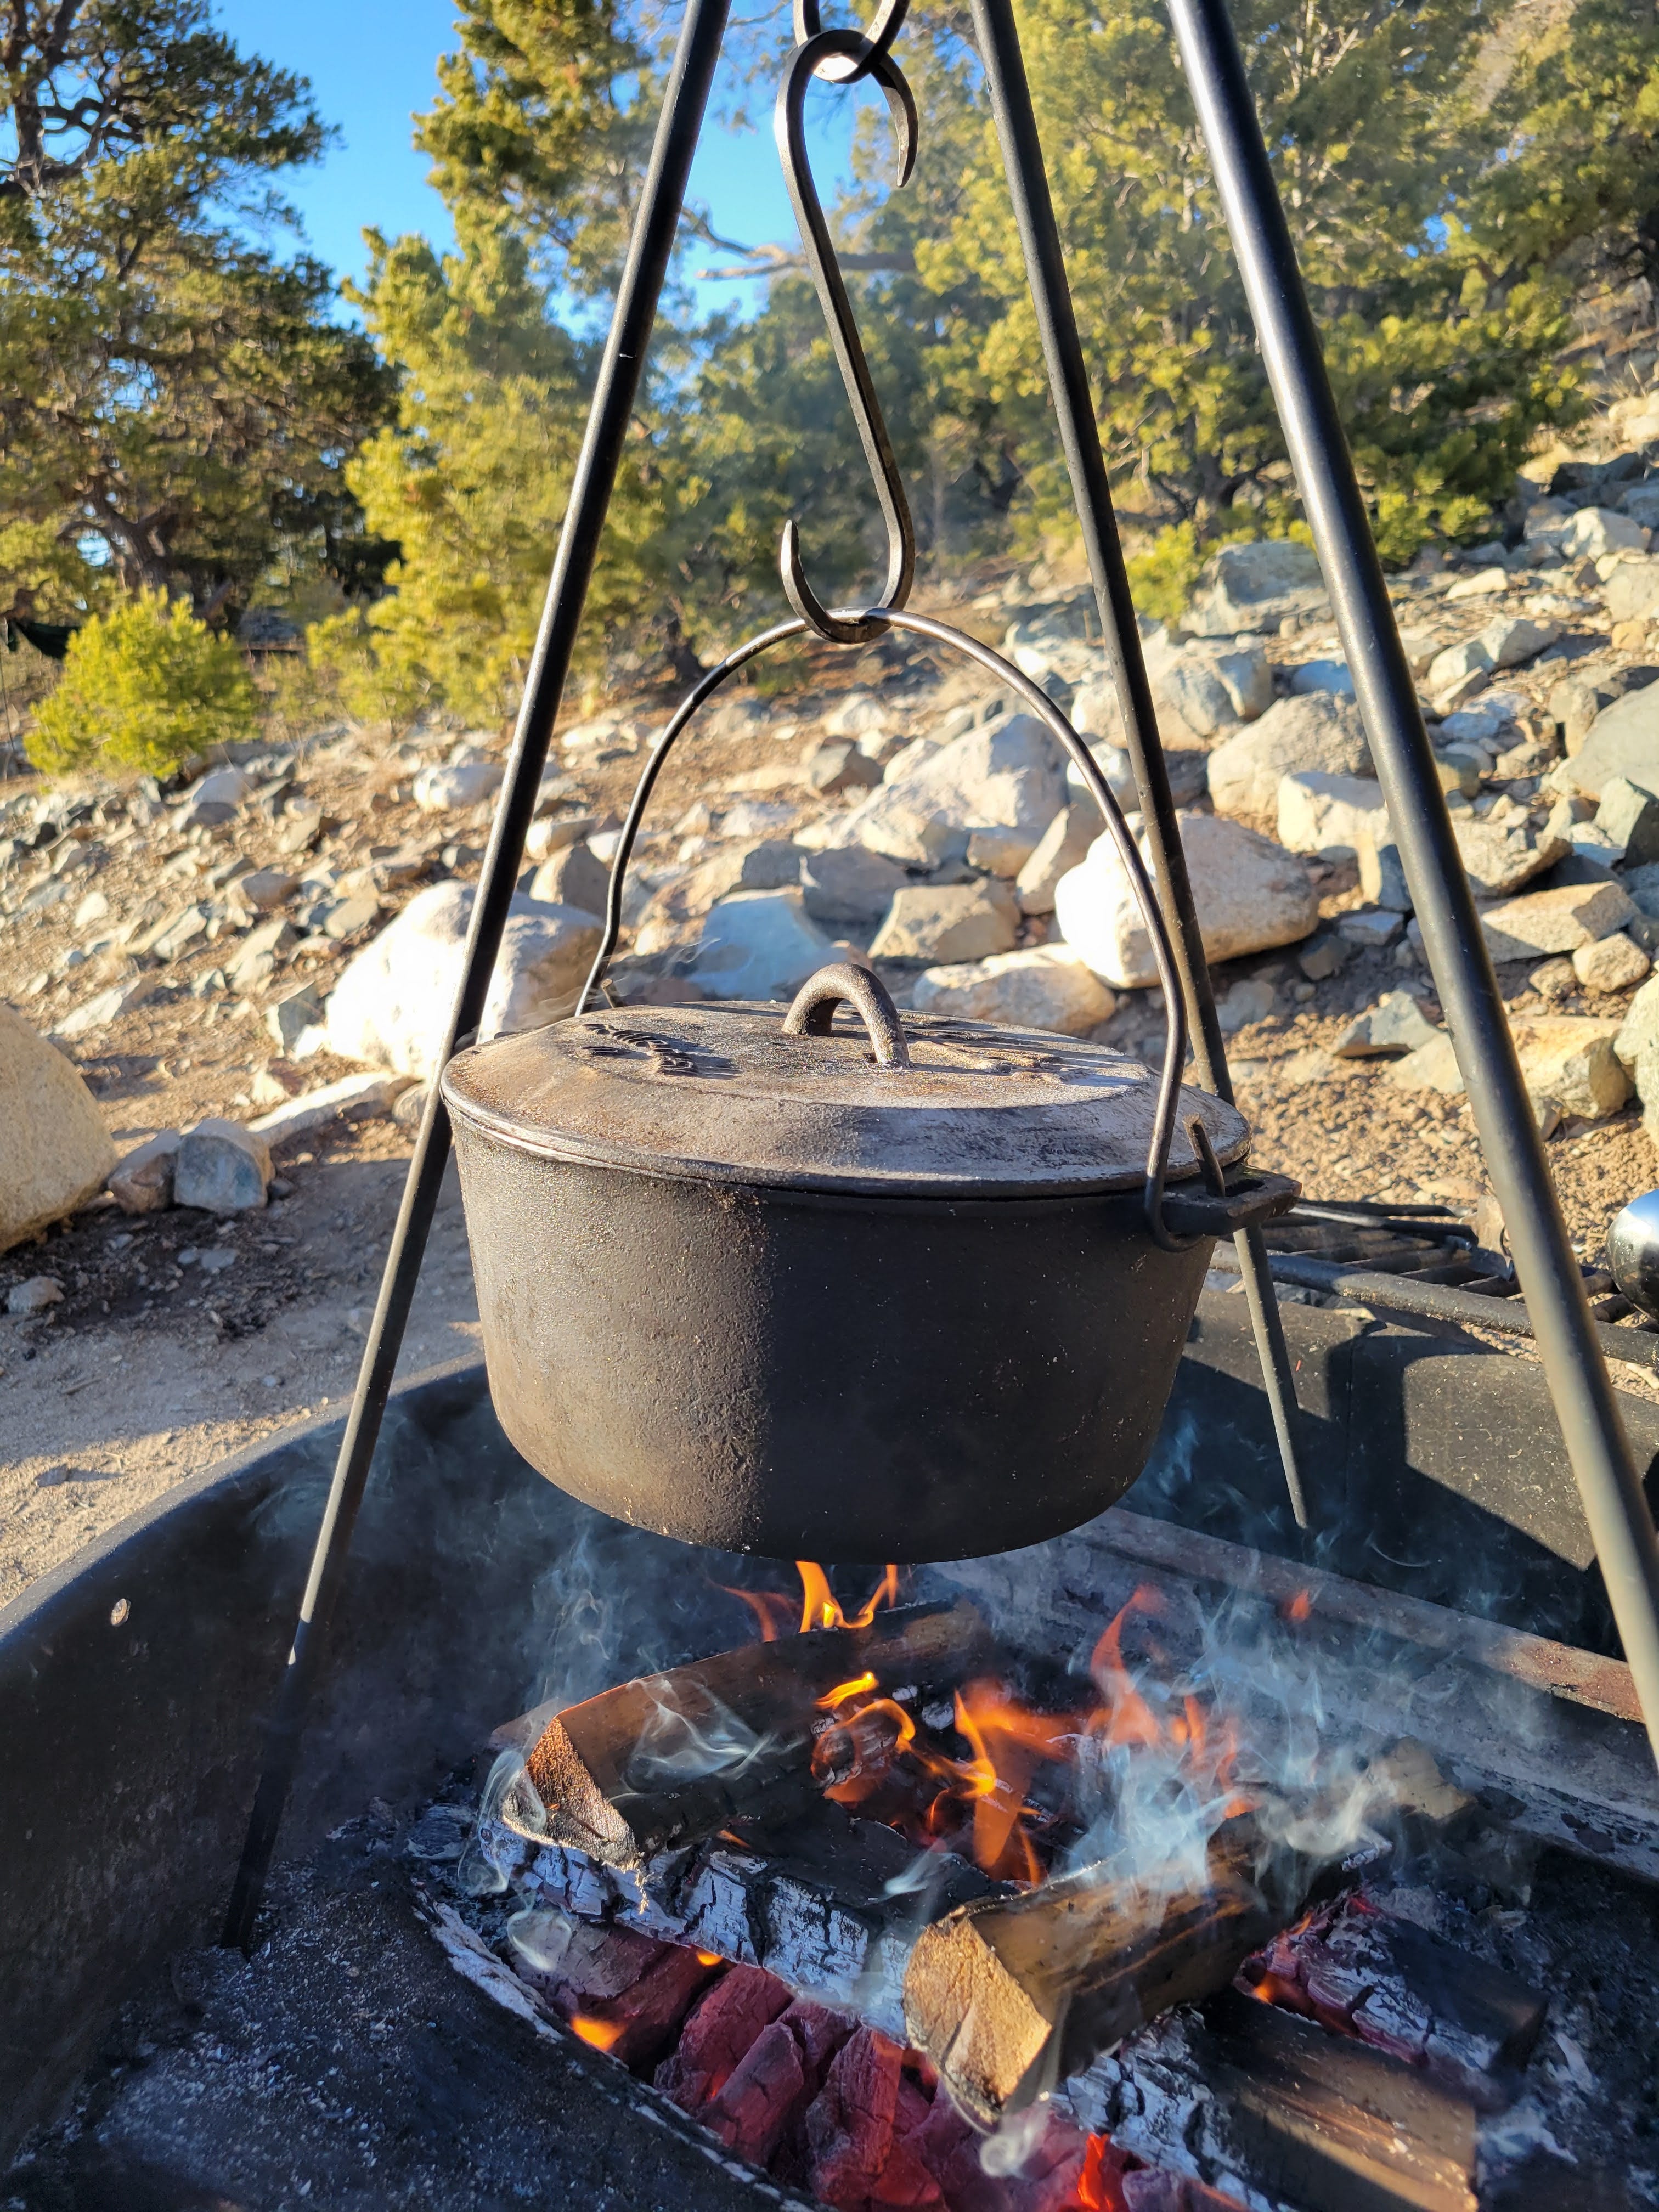
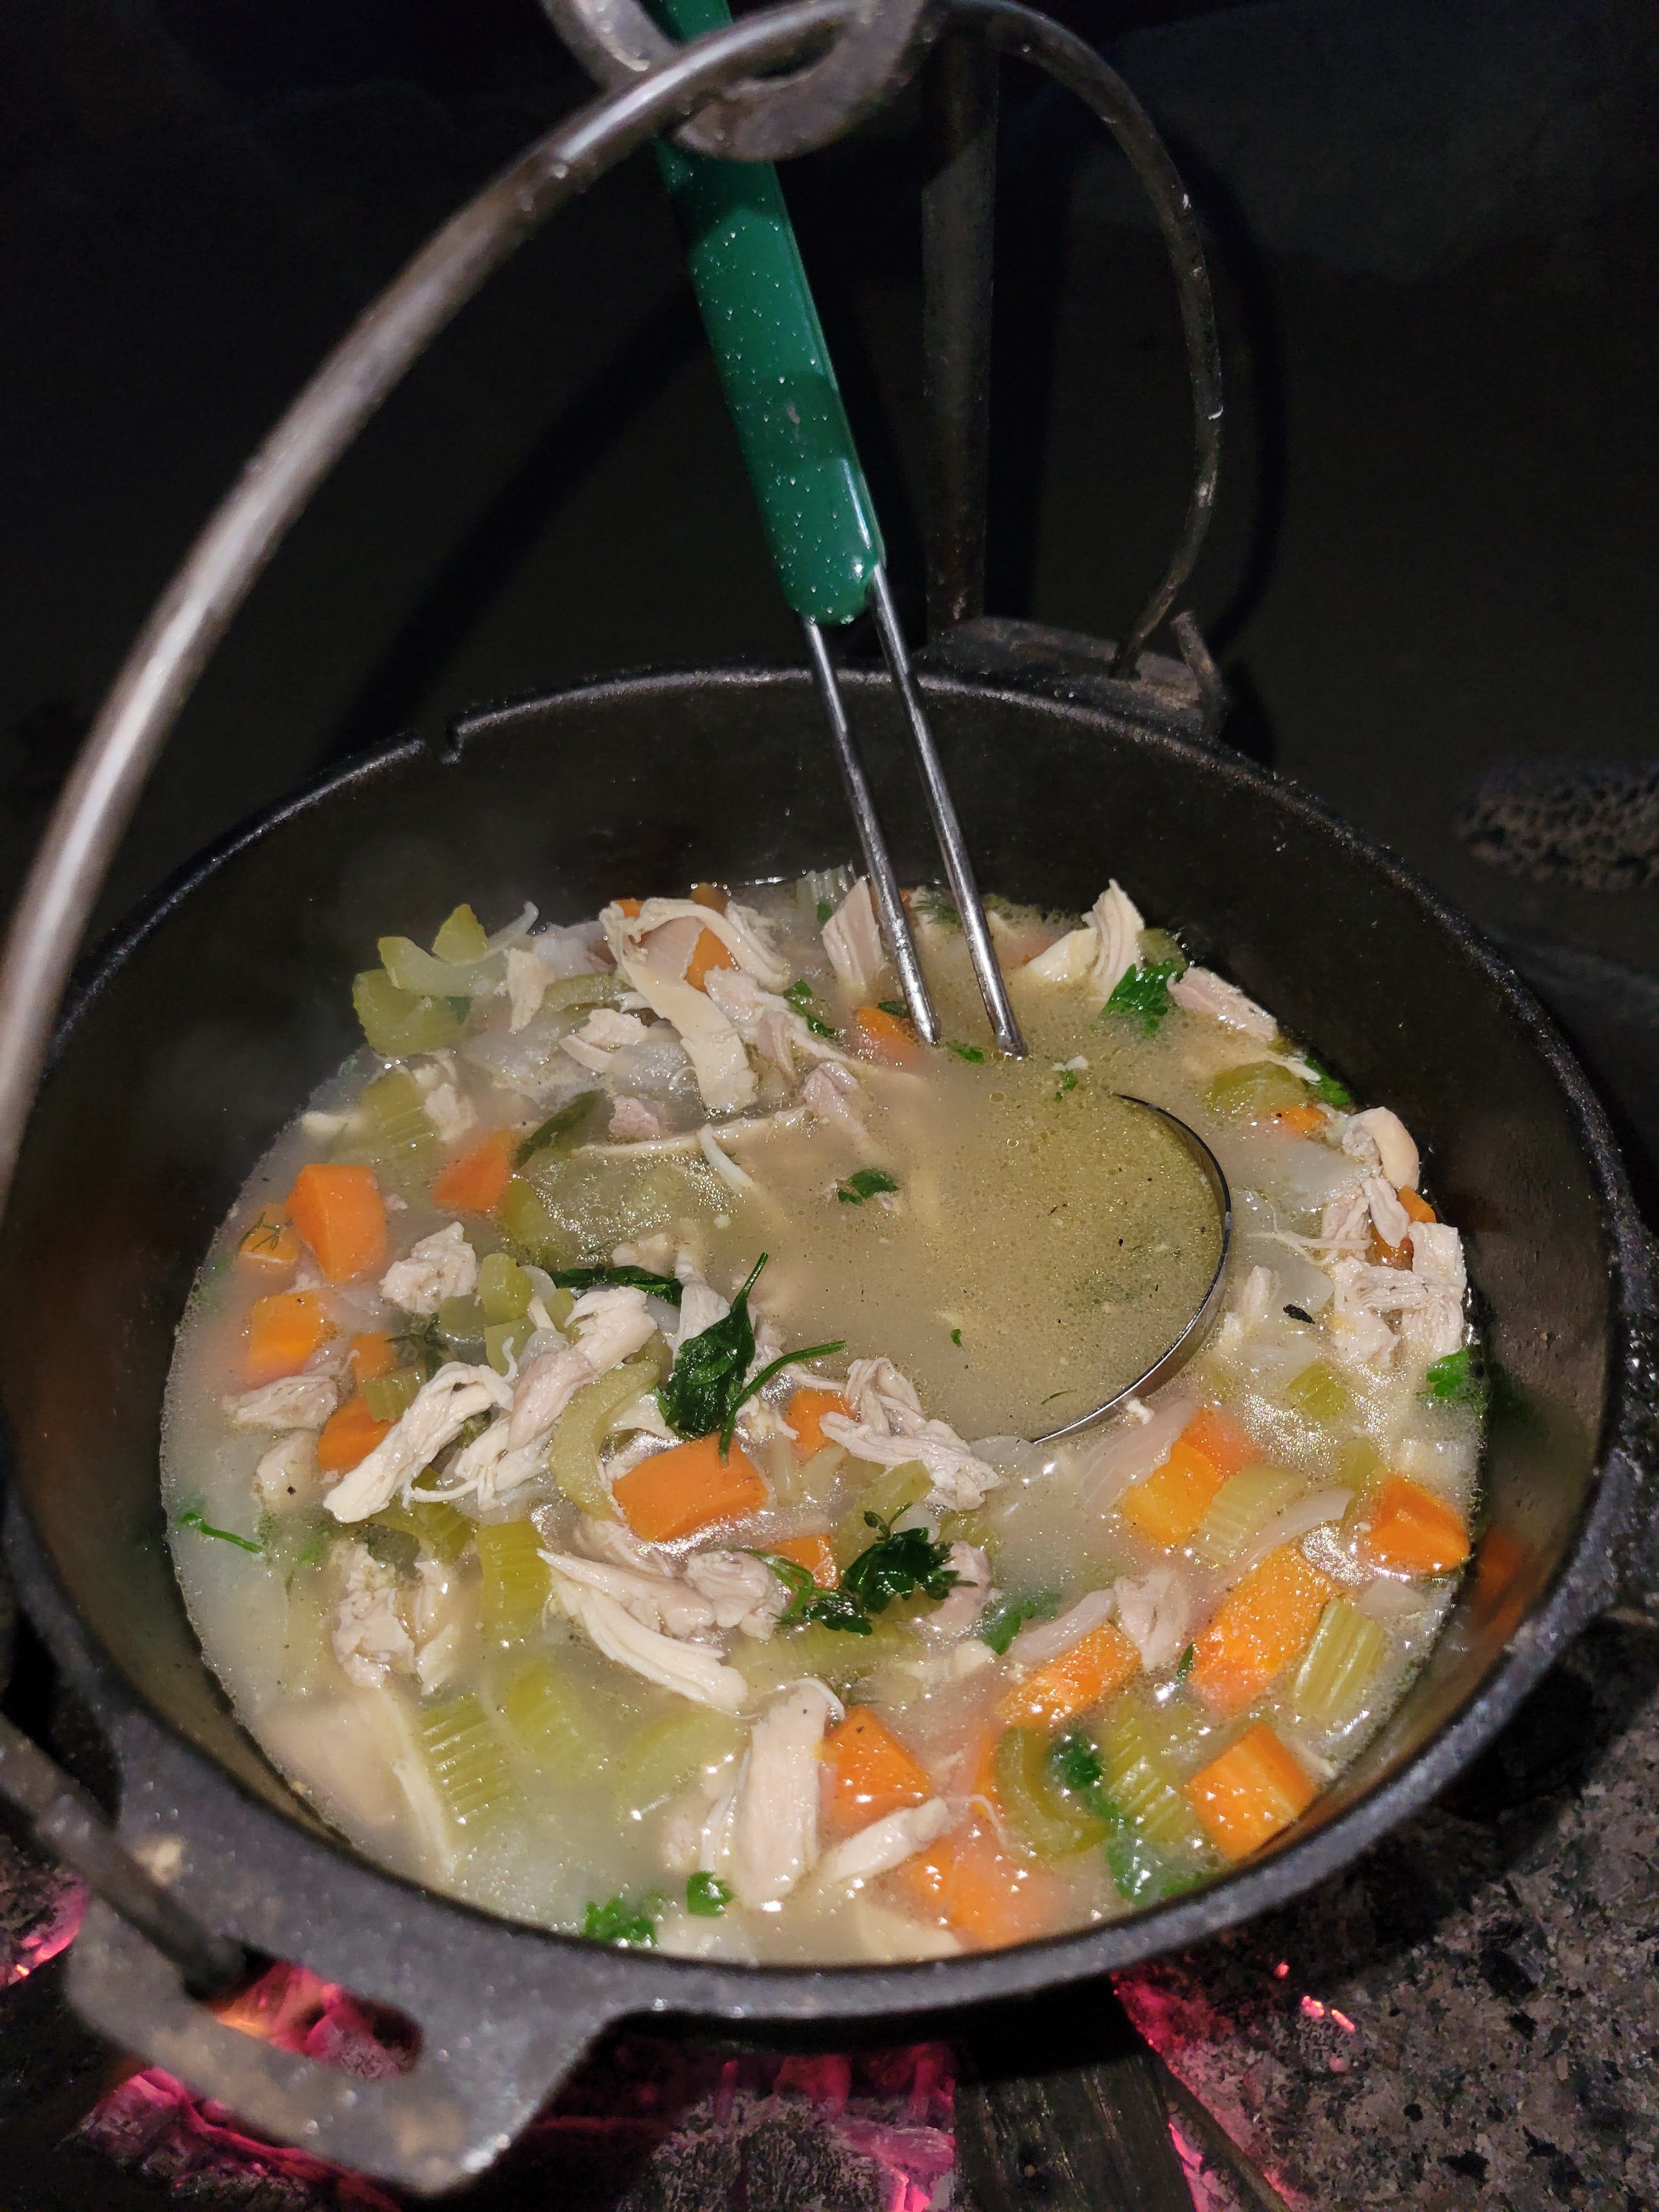
I use a tripod and blacksmith hooks to hang my Dutch oven over the fire because I like to carry the extra weight up the hill to my campsite. (Sarcasm) I prefer this setup for soups because I want to keep consistent heat on my Dutch oven but I don’t want it to be too hot too early and I will need to fuel my fire over time. Start the soup with a hot pot and add your chicken broth and veggies. If you grill or sear your chicken first the soup will have a stronger “chicken” flavor later. Up to personal preference.
Now we wait. Tend the fire as necessary. I keep the lid on my Dutch Oven to keep ash out of the soup but feel free to check it as often as necessary. Once you have a rolling boil and your vegetables are translucent or soft add the chicken thighs.
More time will pass. More logs will burn. Check your chicken. If the thighs are boiled nicely take them out and shred them into bite-size pieces. Add the shredded chicken back to your soup along with freshly chopped dill. Let the dill soak in and then season to taste the salt, pepper, and parsley.
Gluten-Free Bread Recipe
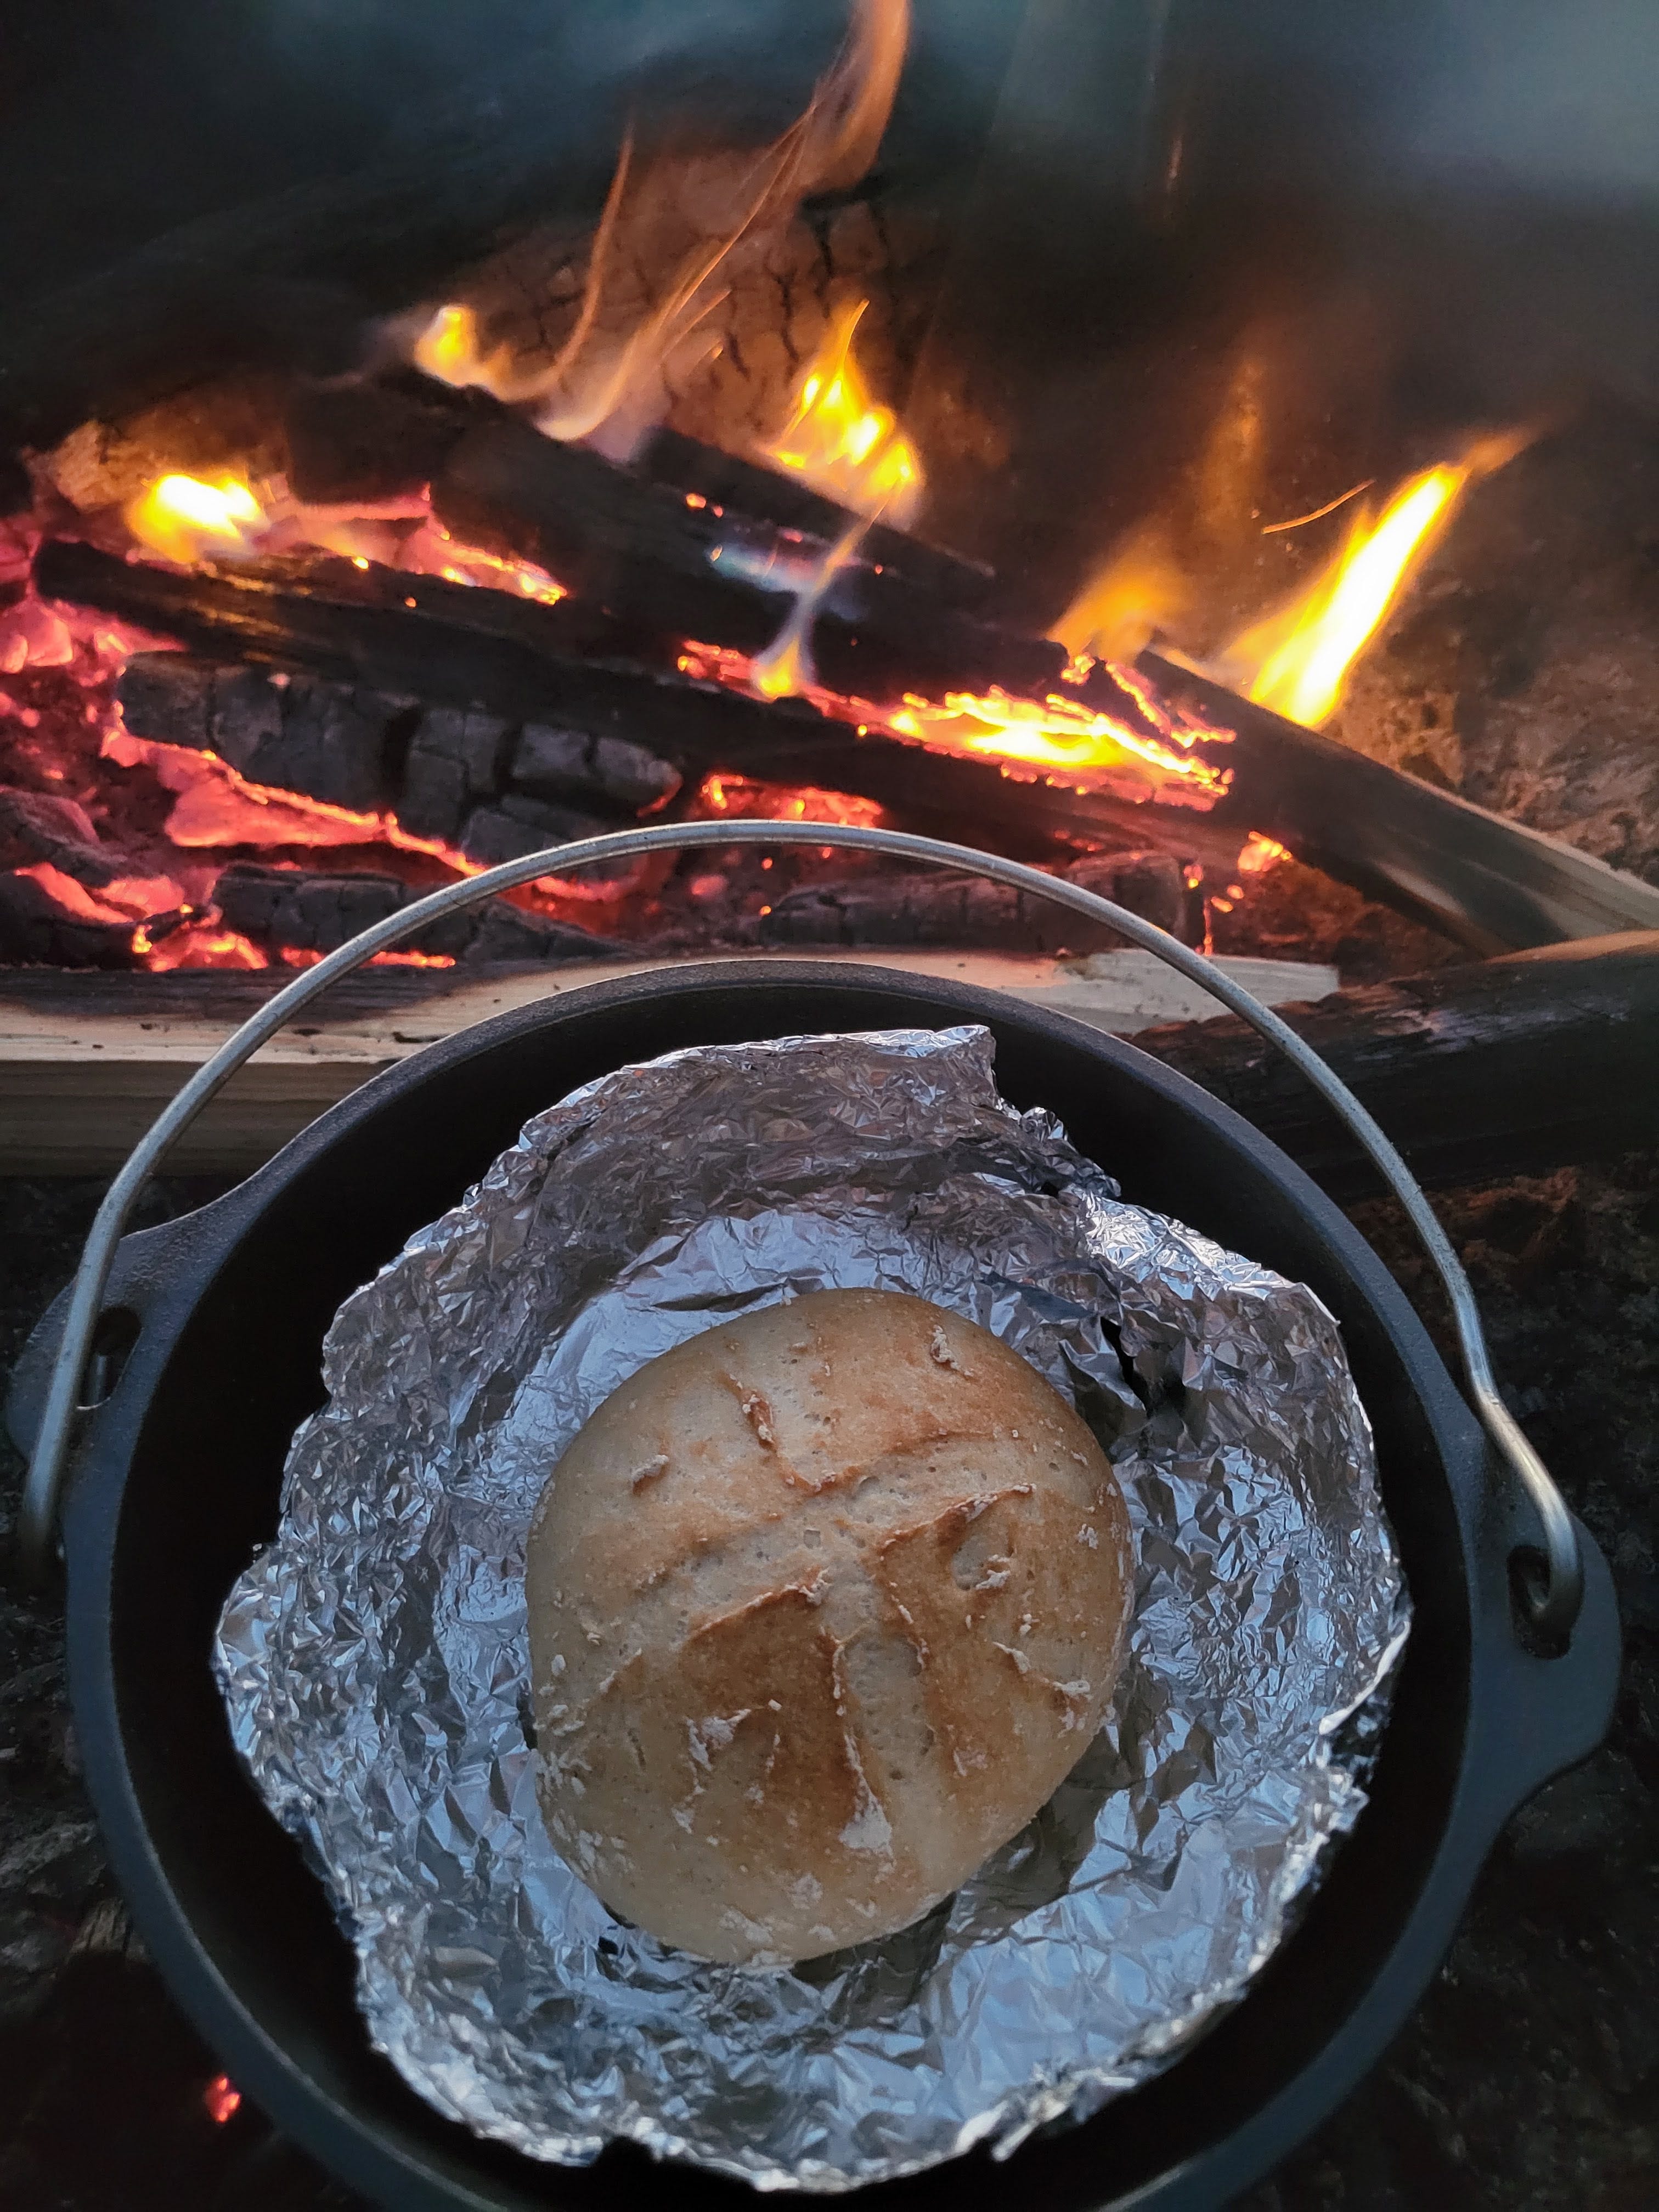
I never tried making homemade bread before. Baking gluten-free bread in a Dutch oven over the campfire seemed like the best opportunity for a first attempt.
Basic Ingredients
Gluten Free flour (I used King Arthur GF Bread Flour based on a popular subreddit)
Yeast, Water, & Kosher Salt (I added salt but skipped the sugar because I wanted a dense savory bread)

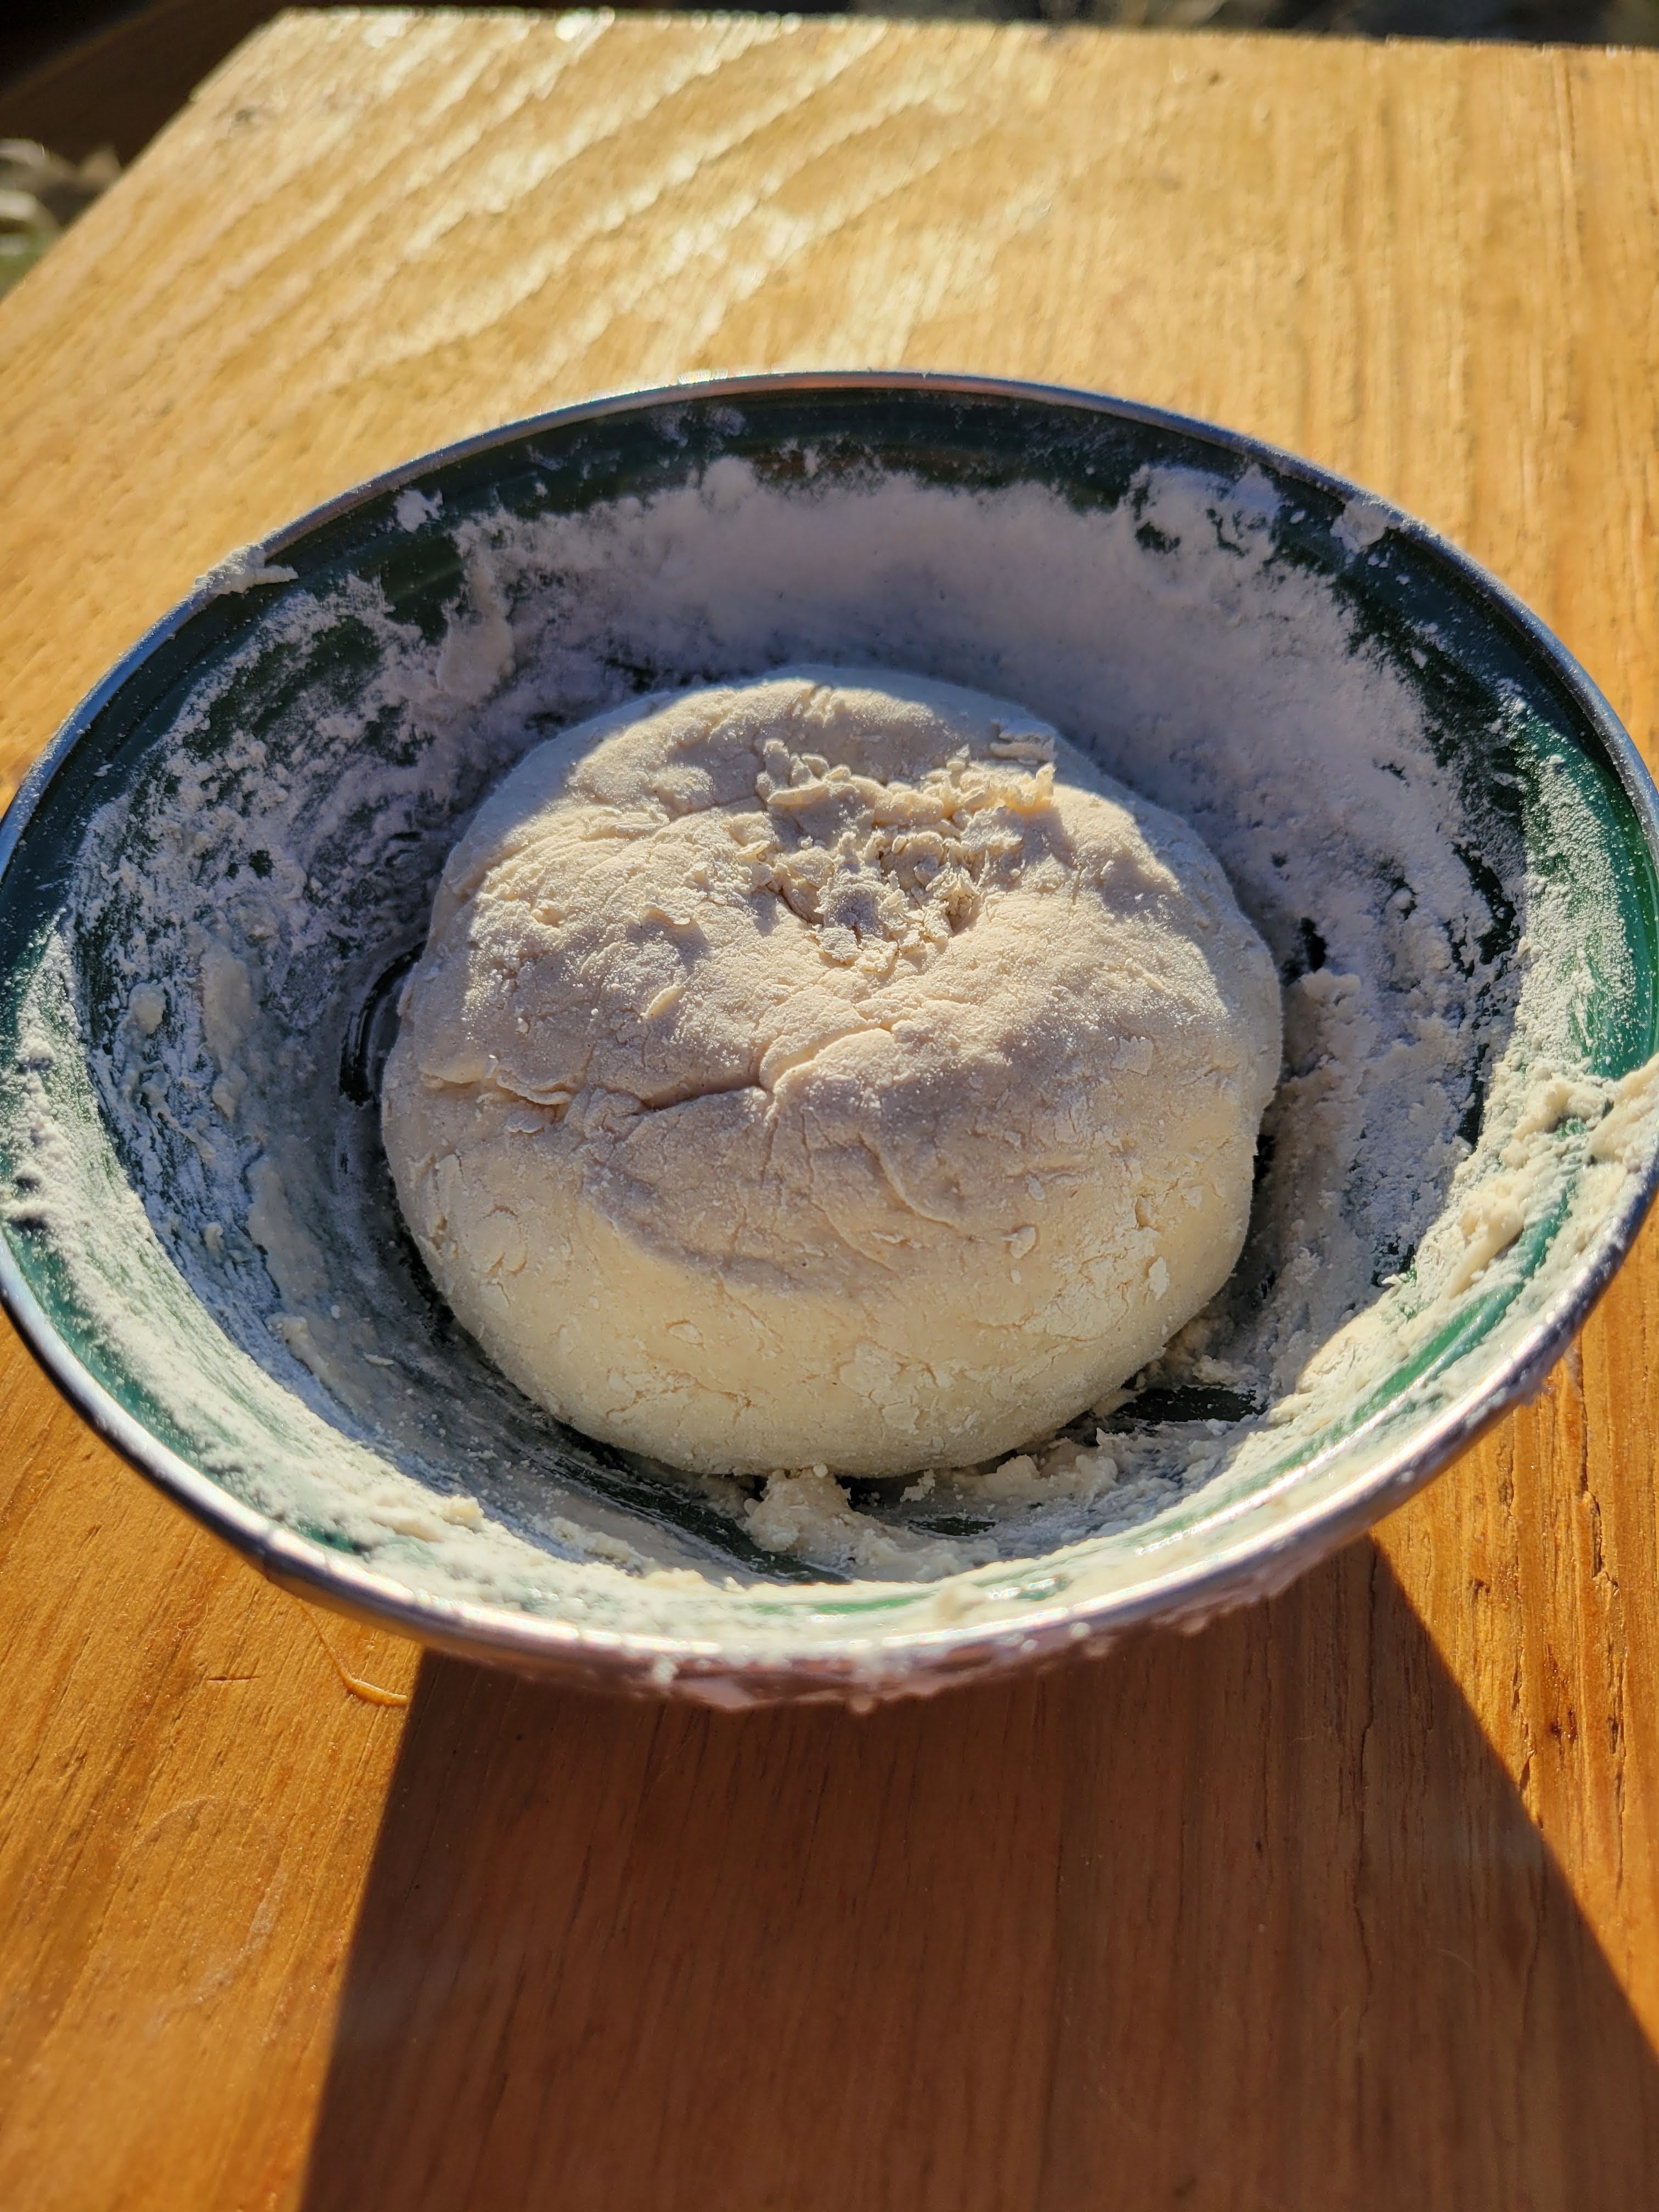
My fist-sized “loaf” was fluffy on the inside but it didn’t rise 2x-3x its size as most recipes indicated. I believe this happened for three reasons:
I didn’t add sugar to my yeast starter. This slowed the activation of the yeast.
I didn’t let the bread dough have enough time to rise. (2-5 hours recommended)
I camped at 9,000 ft of elevation and altitude typically affects the baking process.
Start Your Starter Early
I mixed dry yeast with a generous splash of water and a handful of flour to make a starter. I set the starter aside and waited 30 minutes until I saw bubbles from the yeast beginning to activate.
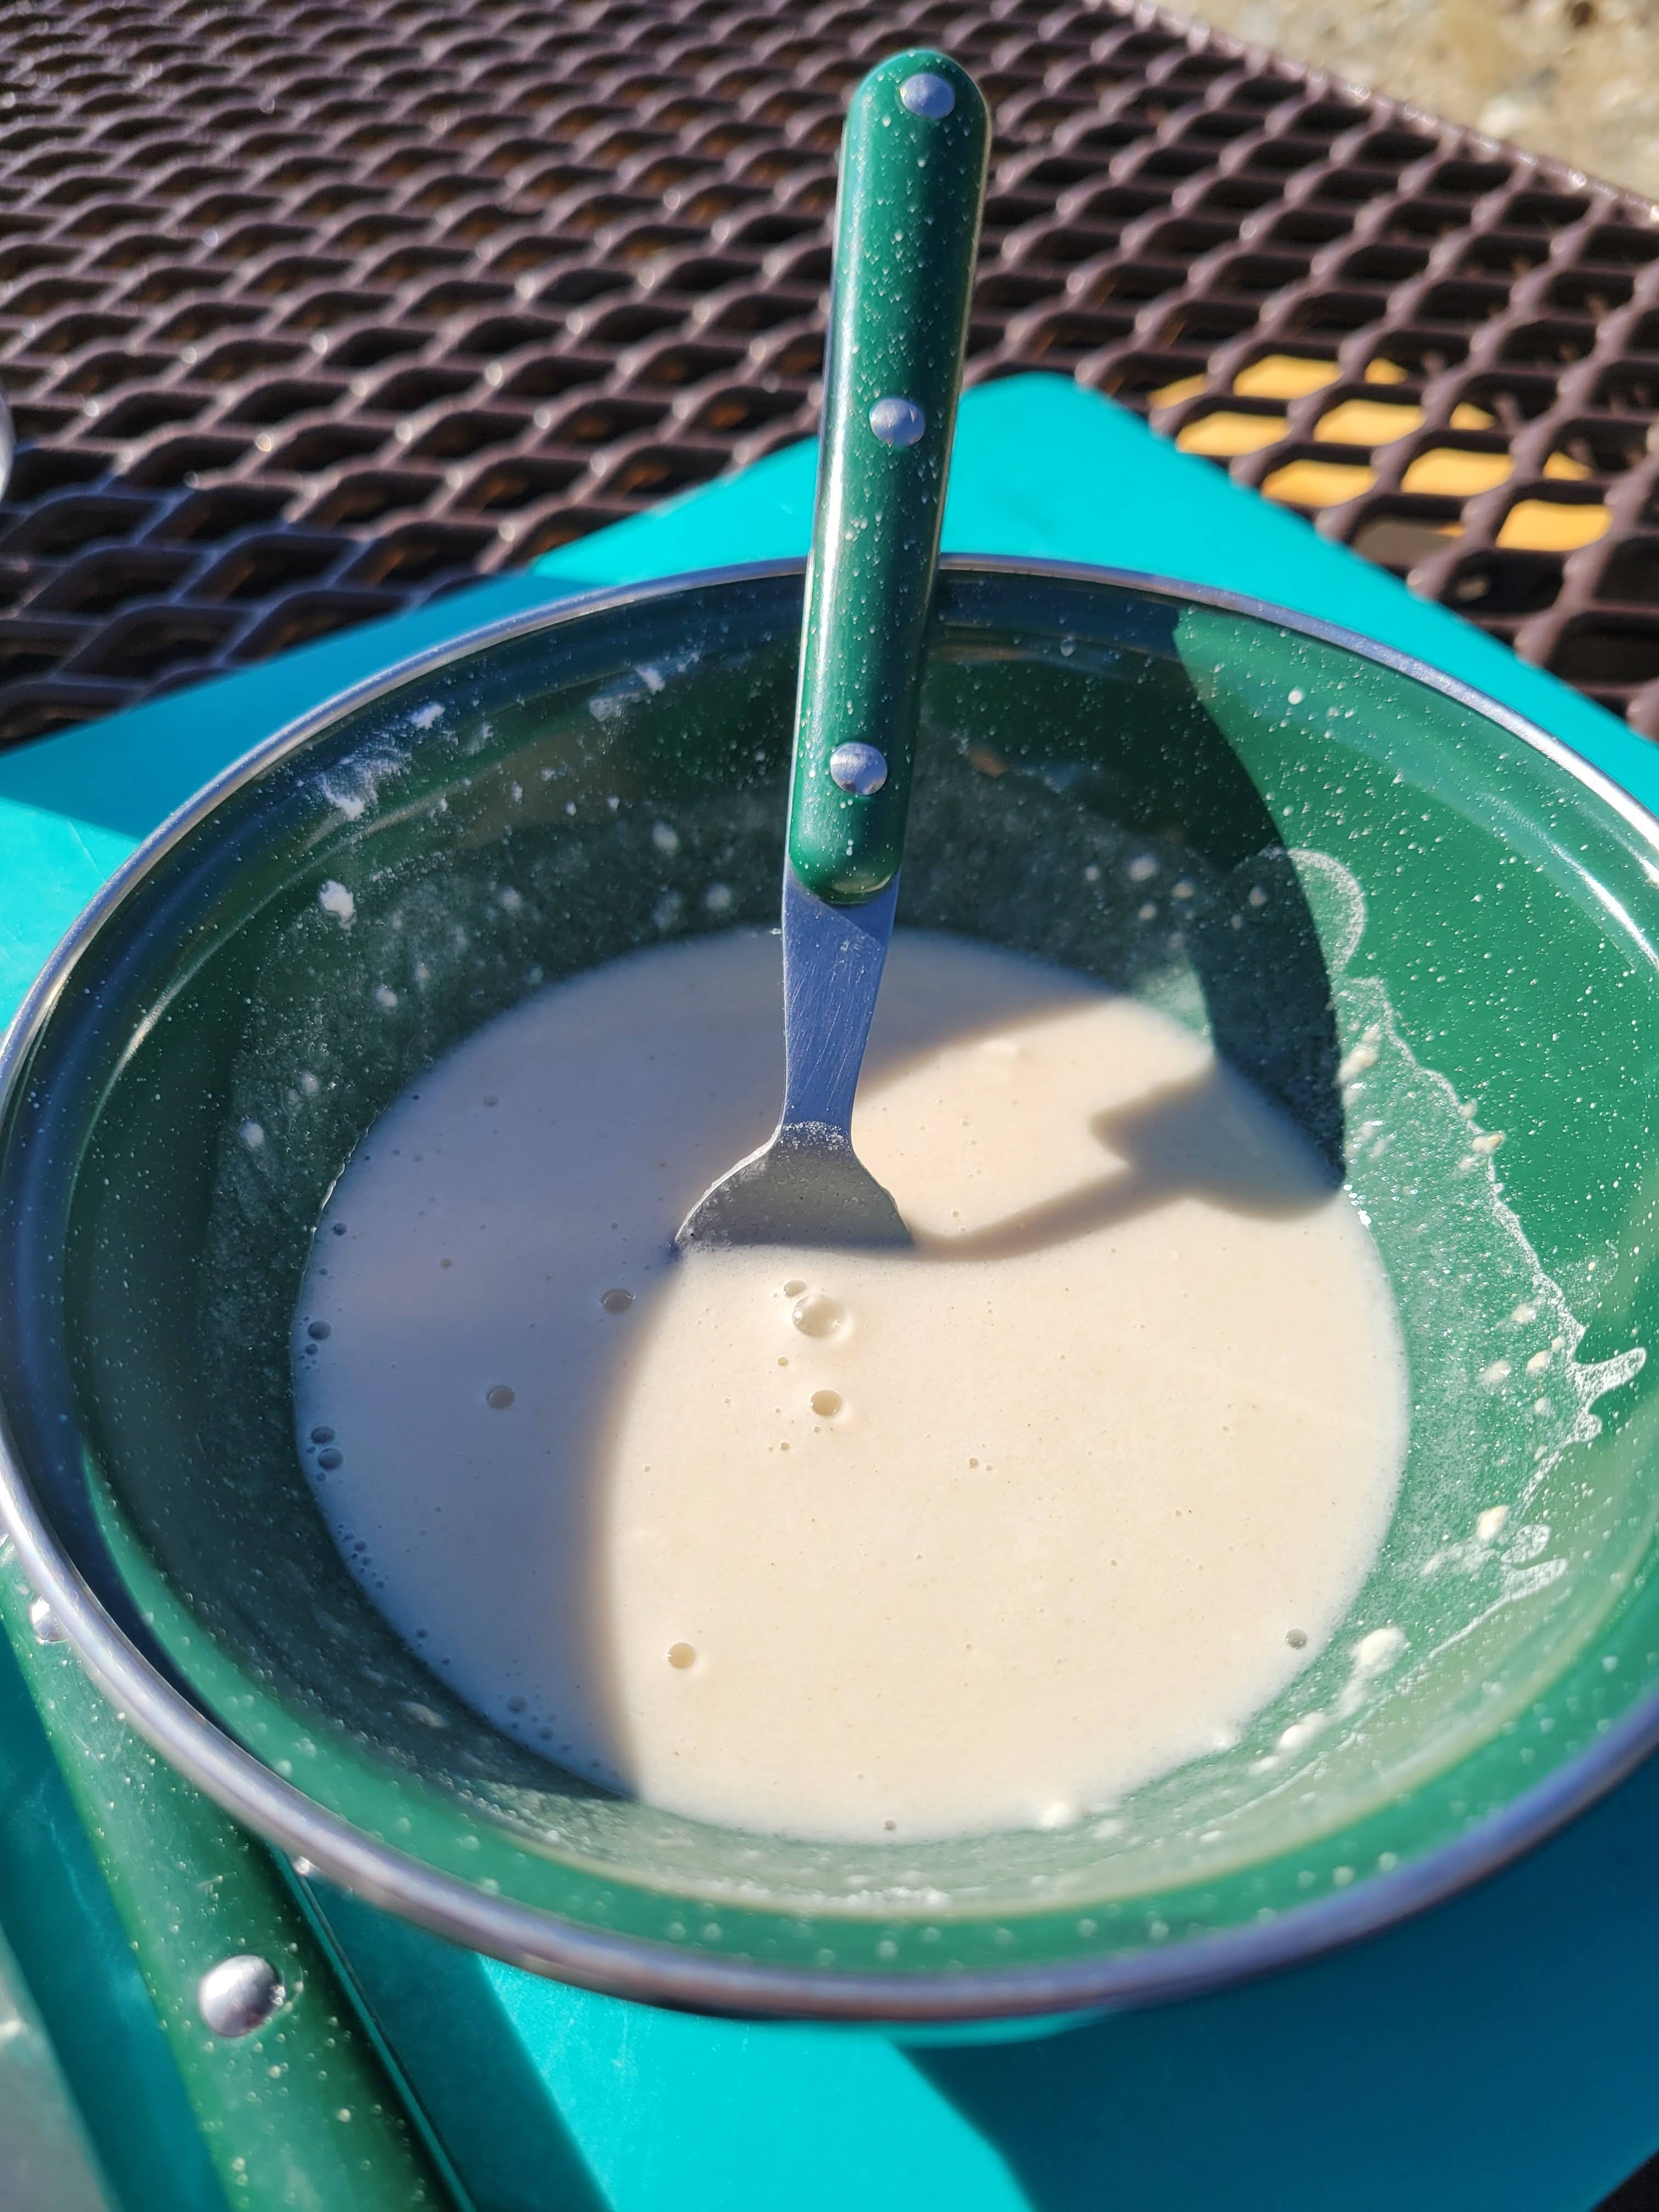
Adding a pinch of sugar and the longer you wait for your yeast to fully activate will give you “fluffy” bread dough.
Start Your Dough Early Too
Add the starter, more water, more flour, and a pinch of salt to make bread dough. The dough should go from watery to sticky to self-containing as you whisk and knead the mixture together. Add more water or flour to get the desired consistency. Let the dough rise for a few hours in a bowl with a towel over it.
Get Baked
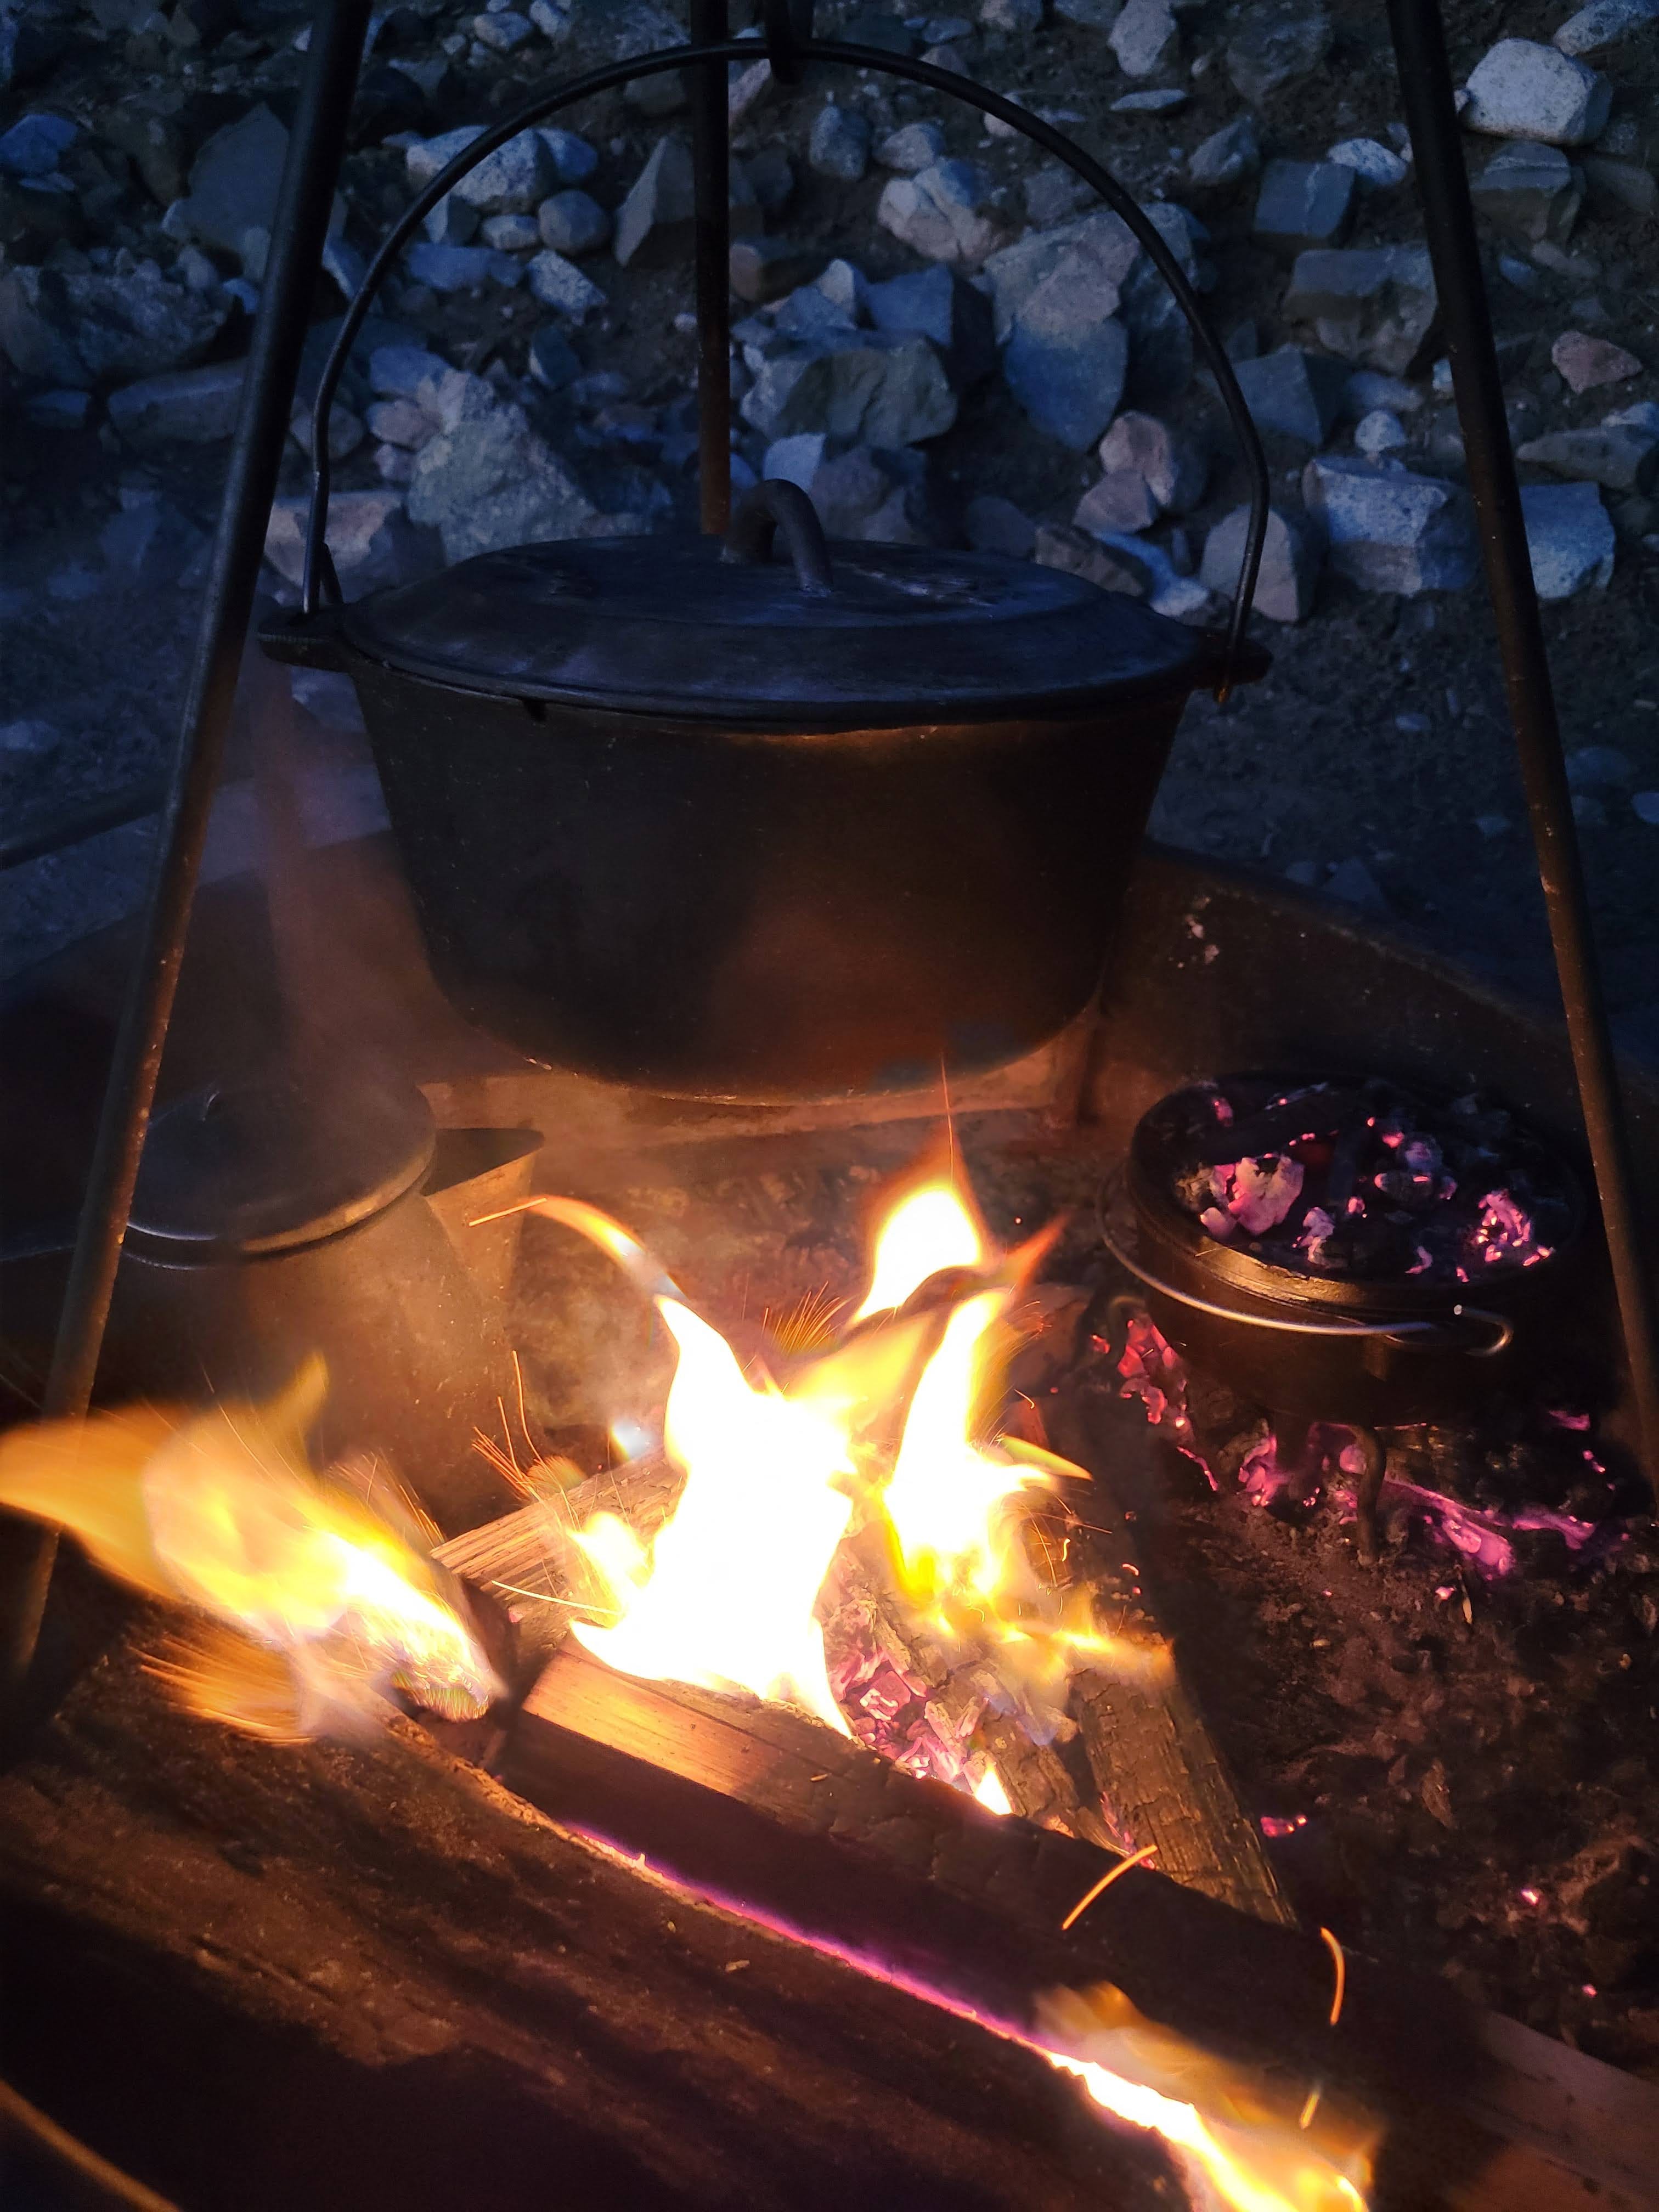
Once you are ready to bake score the dough by cutting the outer layer just enough to help it rise while baking. Lay the dough gently in a warm Dutch oven, that was left to heat up by the fire. I use a metal stand to keep the Dutch oven off the ground allowing the coals underneath to receive enough oxygen for my low and slow baking process.

Add more coals on top than bottom since the heat rises and you can visually check the top of the bread by lifting the lid. Every 10-15 minutes rotate both the Dutch oven and lid 180 degrees in opposite directions to minimize any hot spots from burning your bread. Once the bread is baked to your liking- Enjoy!